Acrylonitrile Butadiene Styrene and You
- Micah Wiersma
- Feb 3, 2018
- 3 min read
ABS plastic is a strange beast. It's strong and heat resistant enough for automobile parts and lego, yet it dissolves quickly in chemicals like acetone. It is much less forgiving than other materials, requiring constant temperature monitoring via an enclosure and a heated plate.


So, naturally, I used it for a starting material.
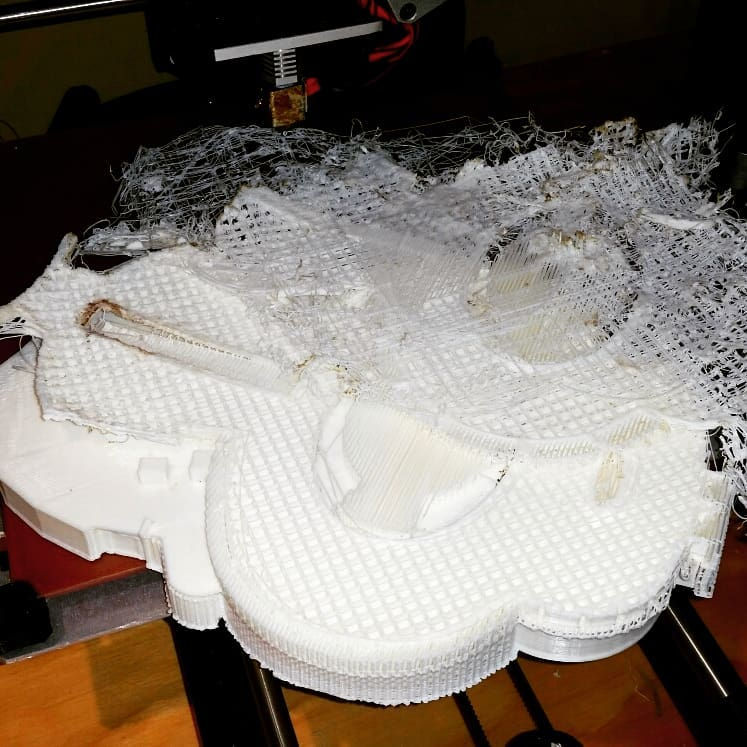
Woops.
I was lucky this print only cost me a $8 thermistor and an hour of cleaning. I ignored the crucial nature of the first layer, heating conditions, and never leaving your print alone for over an hour, much less overnight. What exactly happened? Without sanding and preparing the heated plate to make sure the model sticks, improper heating conditions can cause the model edges to warp. One side of the long model warped upwards, where the nozzle caught a piece of the print and moved it off of its starting axis. The model continued to print misaligned until there was a critical error.
This was my first attempt at the existing model for St. Andrew Catholic Church, a client of AKA Architects. When we re-evaluated how we would make this model, we decided we needed to take advantage of ABS's strengths: welding and smoothing with acetone.

So we printed the model in pieces that could be completed during business hours.

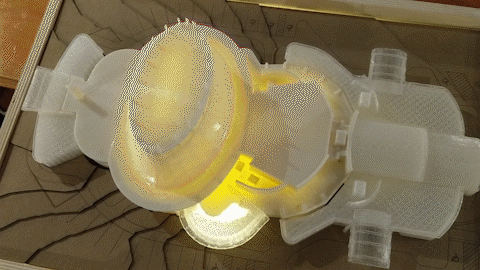
Next, I selected a material to represent the proposed additions to the existing church. We settled on a transparent (natural) ABS filament, thinking that we may light each of the three additions up as they are funded.


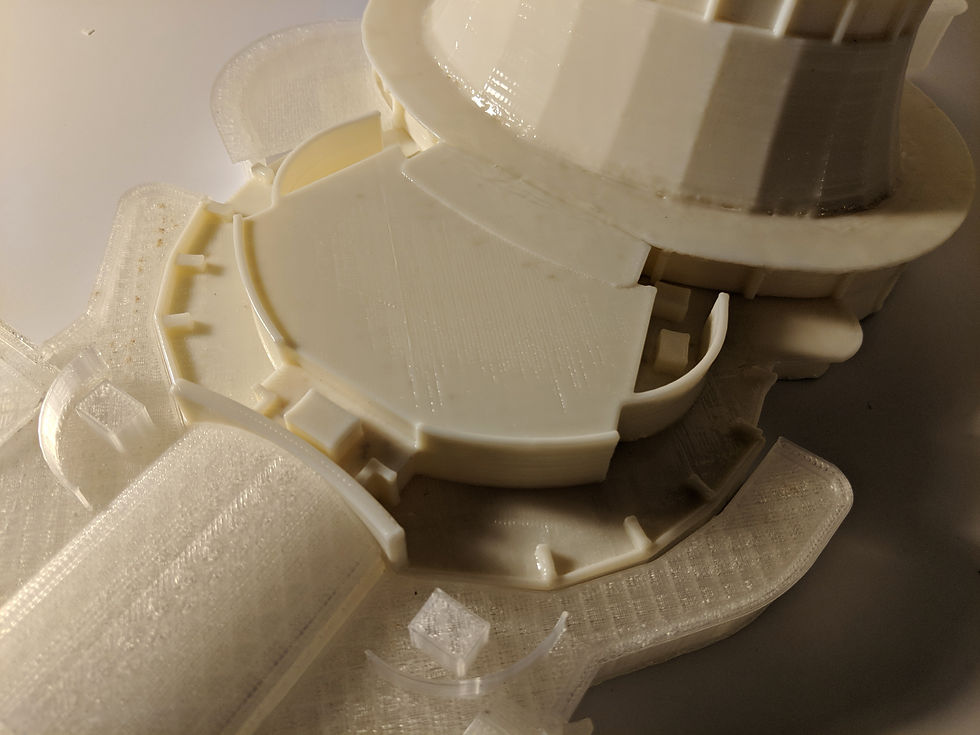
These are the completed prints fitting together. The whole model consists of 10 separate prints welded into the existing structure and 3 removable additions: A new multi-use space, a weekday side-chapel, and an expanded back entrance. The welding was accomplished by brushing a solution of acetone (nail polish remover) and junk filament between the joints of a model (sometimes placing solid filament in the cracks), This melts the plastic down and fuses pieces together when the ABS re-solidifies.
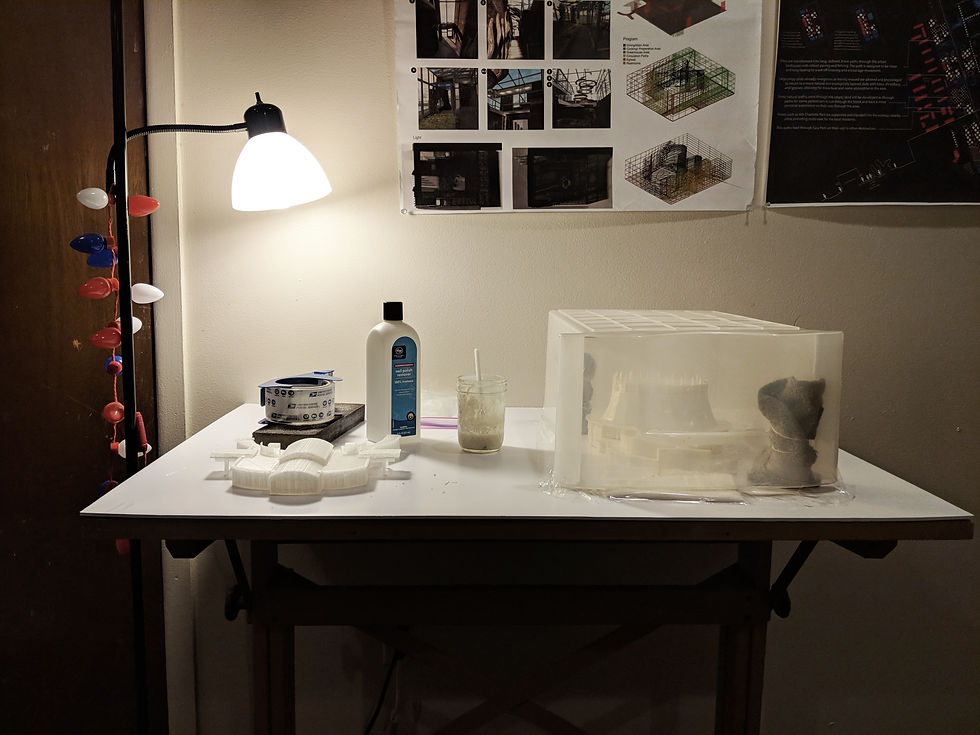
This method is called an acetone vapor bath. the model is placed in a sealed plastic container with rags soaked in acetone. This acetone sublimates and fills the air with particles that slowly melt the surface of the model, removing the rougher texture of a medium-speed print.


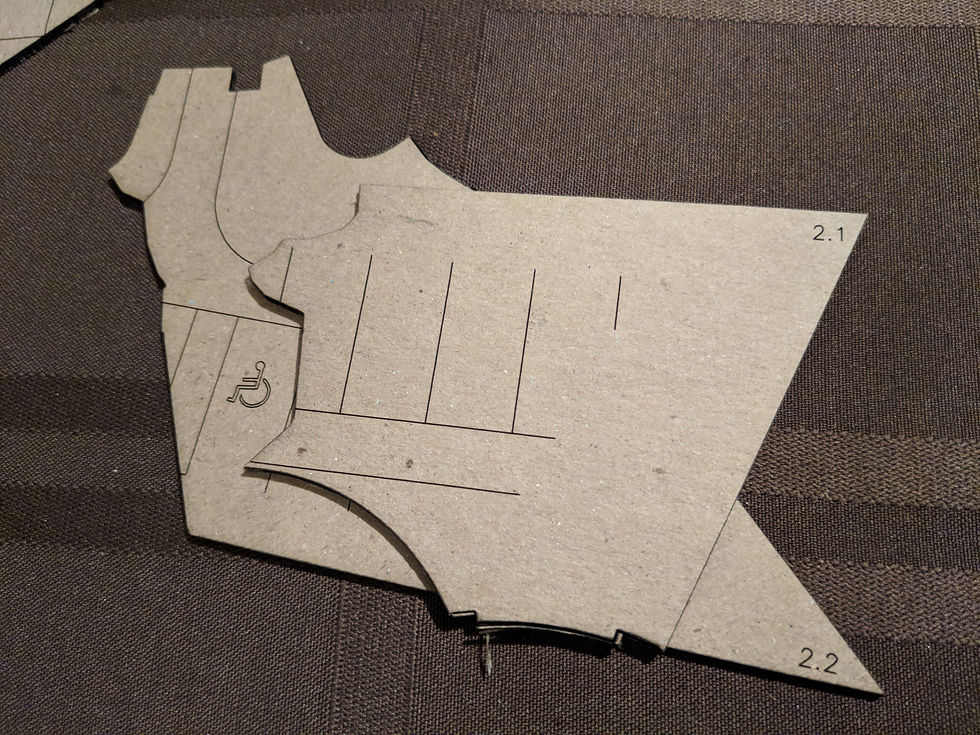
This site involves a change in elevation along one side, so the model required a site showing this slope. Since there were civil drawings available, it was only a matter of editing the Autocad drawing down to cutting and etching lines for a laser cutter.

Laser cut signage was also created for the sides of the base.

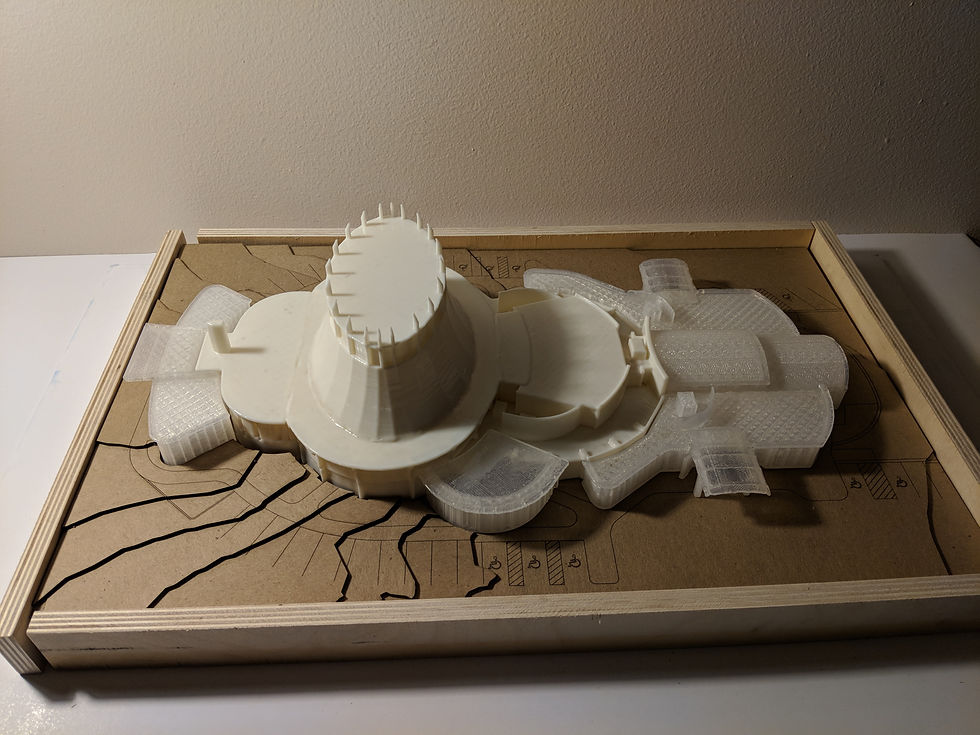
I was then able to conduct a lighting test for my different materials to see how they reacted differently.
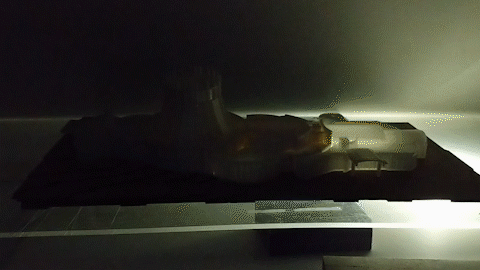
Beautiful. The last step was to set up this effect for the client to control. This would be accomplished in a solid craft plywood base and an acrylic sheet support for the model. Inexpensive LED bead lights run through three different zones of the model. Each of their attached switches would be accessible from a hole in the bottom for display purposes.

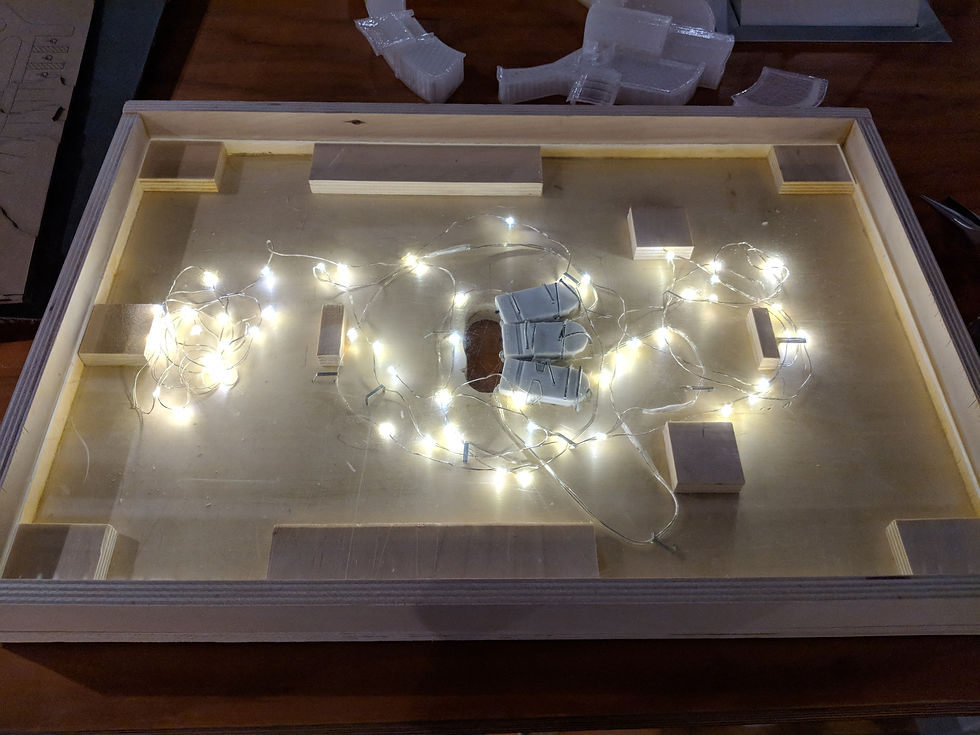
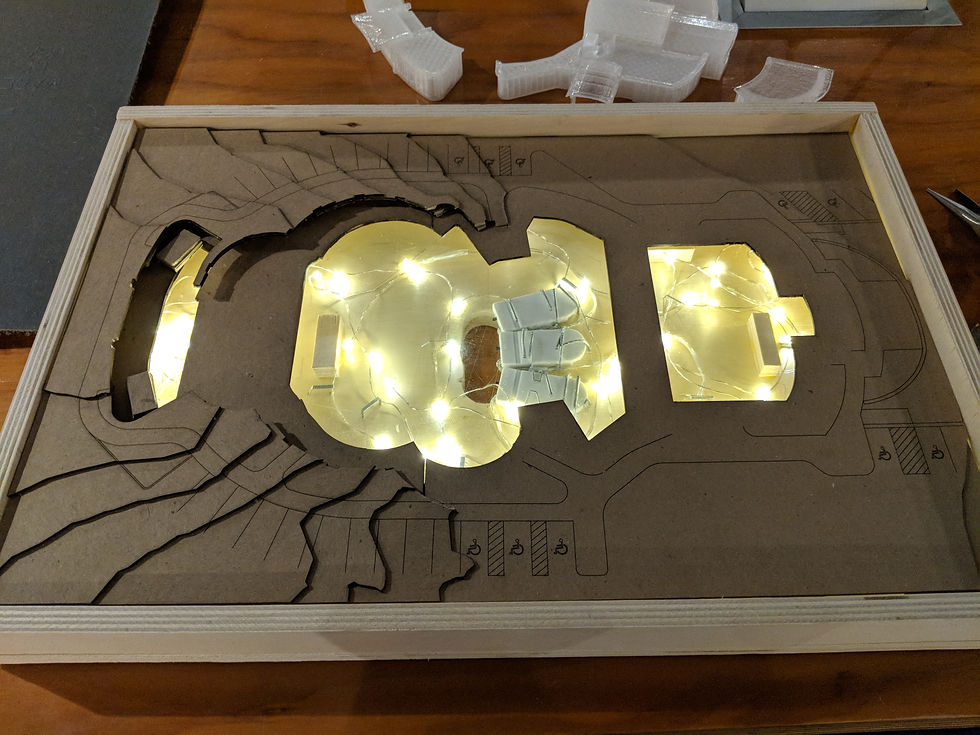

The final touch of the build was applying the laser-cut signage.


The most important take-away from this build is its first steps into a larger world of modeling. AKA Architects bought this 3D printer a few years ago, wanting to see if it could bring any interesting changes to their process. Now they have a precedent to show clients when they ask what they can expect from a digital-to-physical model. Slowly we can create a better process for representing architecture.


Comments